Django is one of the full-stack web frameworks in Python by saying full stack I mean, it's a kind of framework that attempts to provide almost everything needed by a developer to create a website or any kind of application. Serving you from web to database management, to HTML generation.
Django assists in quick development and clear, practical design. In this article, I will be walking you through the step by step way to configure an app with Django.
Steps to take while setting up a project with Django
Step one: Find Location
To create a project, we have to create a location where we want our project file to be. Go to your PC where you want your project file to be, mine is in the documents.
Create a folder and name the folder anything you want. I'm actually bad at naming things.
Go to your command line CD to that project file.
cd stepproj
Step two: Create a Virtual Environment
The next thing we want to do is to create a virtual environment for our project. Still in our project folder directory, type: virtualenv or python -m venv and our virtual environment name in my own case "virt".
virtualenv virt
-m venv virt
Step three: Activating Virtual environment
After creating a virtual environment the next thing we want to do is activate that virtual environment created like this:
if you are on bash command terminal: source virt/Scripts/activate. If you are on CMD virt\Scripts\activate. Take note of the forward and backslash. "/" "\"
source virt/Scripts/activate
virt\Scripts\activate
If you are on Mac or Linux is virtual environment name/bin/activate
virt/bin/activate
Step four: Installation
Here, there are two things to install which are:
Requests
Django
When you want to install Django, let's assume you have Python installed, open your command prompt(CMD) and type pip install Django if you haven't done that already, otherwise? You download and install Python first. You might be wondering what pip means right? PIP is the package installer for Python, in other words, PIP is a package manager for Python packages or modules. If you have installed any Python version greater than 2, you already have pip installed.
pip install requests
pip install Django
When Django is successfully installed we get this

Step five: Start Project
Now that we have Django installed and our virtual environment is up and running, let's create our project. CD into the project file we created in step 2. We will use the django-admin startproject "project name".
django-admin startproject ablog
Once our project is created be certain to CD into it before the next step.
cd ablog
Note that: We were able to create our project name using the django-admin because we already have Django installed.
Step six: Run Server.
In your command type python manage.py migrate to migrate the server. Then you can type python manage.py run server to be sure our app is successfully installed.
Manage.py is a command-line used to run a project on command. It interact with Django project in different ways.
python manage.py migrate
python manage.py runserver

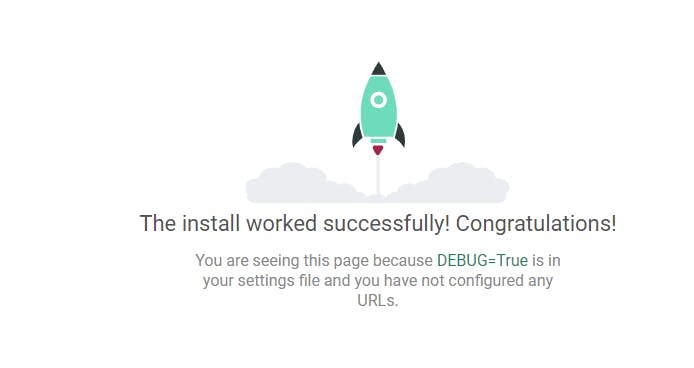
Open your web browser and go to the local host provided by django which is HTTP/127.0.0.1:8000 or localhost:8000.

When you get this, you know your app is successfully installed.
Yuppie! It's a successful installation. I hope your app is successfully installed too and we can enjoy the ride together. Thanks for reading till the end. Please feel free to drop your questions or comments in the comment box below.

Reference

